Hey there, fellow car enthusiasts! If you’re curious about how to use a smoke leak detector to track down those annoying leaks in your vehicle, you’ve come to the right place. I’ll admit, when I first unboxed my smoke leak detector, it felt a bit overwhelming. But don’t worry—it’s actually pretty straightforward once you get the hang of it. Let me guide you through the process in a simple, step-by-step manner. After all, catching leaks early can save you both time and money on repairs, and who wouldn’t want that?
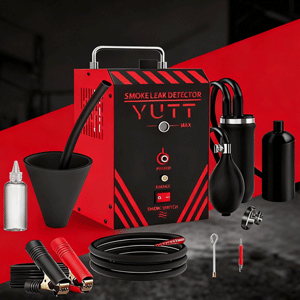
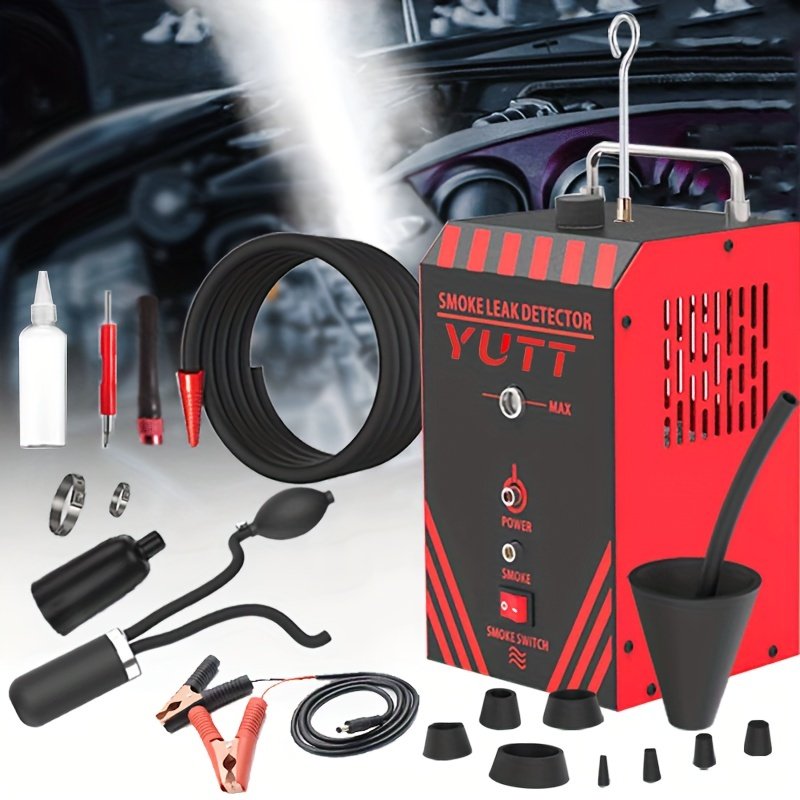
First things first: when your car smoke leak detector arrives, take a moment to inspect all the included accessories. It’s like opening a new gadget—you want to make sure everything’s there! Most smoke leak detectors come with a variety of parts, but the exact contents can vary by brand and model. For example, YUTT brand smoke leak detectors are known for including all the essential accessories, whether you choose the basic model, one with a flow meter, or a higher-end version. On the other hand, some other brands might leave out items like the set of 8 small plugs or EVAP accessories. They may also only include a carry handle with their flow meter models. So, always verify what’s in your kit—it’ll make the whole experience much smoother.
Now, let’s dive into the fun part: using your smoke leak detector. Just follow these steps, and you’ll be detecting leaks like a pro in no time!
Add the Smoke Fluid: Begin by pouring about 10-15 ml of smoke-generating liquid into the fuel inlet. I personally recommend using baby olive oil—it’s safe, easy to find, and works wonderfully. This liquid is what produces the visible smoke that will help you identify any leaks.
Set Up the Hook: Attach the included hook to your smoke leak detector and hang it securely under your car’s hood. This keeps the device stable and in place while you work, making the entire process hassle-free.
Connect the Smoke Tube: Next, attach the smoke output tube to the machine’s outlet port. This ensures the smoke is directed exactly where it needs to go, helping you carry out an efficient and clean inspection.
Power It Up: Use the provided power cables to connect the detector to your car’s battery. Clip the red clamp to the positive terminal and the black clamp to the negative one. Always double-check these connections to ensure safety and avoid any unexpected sparks.
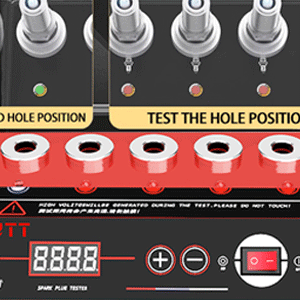
Use the Accessories for Testing: This is where things get interesting. Depending on what you’re checking—such as engine intake pipes or exhaust systems—select the appropriate accessories. For example, there’s a balloon-like component designed to block pipes. Just squeeze the handle to inflate it—much like blowing up a balloon—and use the locking screw to keep it in place. If you’re inspecting engine pipes, simply inflate the balloon section to seal off the area you want to test. The handle works like a manual pump: squeeze to add air, and loosen the screw to release it. It might seem tricky at first, but you’ll get the hang of it quickly!
Turn On and Inspect: Switch on the power and wait about 30 seconds for the smoke to start flowing. Then, carefully watch for any smoke escaping from pipes or connections. If you spot smoke, you’ve found your leak! From there, you can repair or replace the faulty part, and your car will be back in great shape.
Using a smoke leak detector might sound a bit technical at first, but with a little practice, it becomes an incredibly handy tool for DIY car maintenance. I’ve found it super useful for troubleshooting issues like EVAP system leaks or engine problems, and it’s given me more confidence in handling basic auto repairs. So why not give it a try? You might be surprised at how easy it is to keep your vehicle running smoothly!
Hope this guide helps you out—if you have any questions, feel free to reach out. Happy detecting, and here’s to stress-free car repairs!